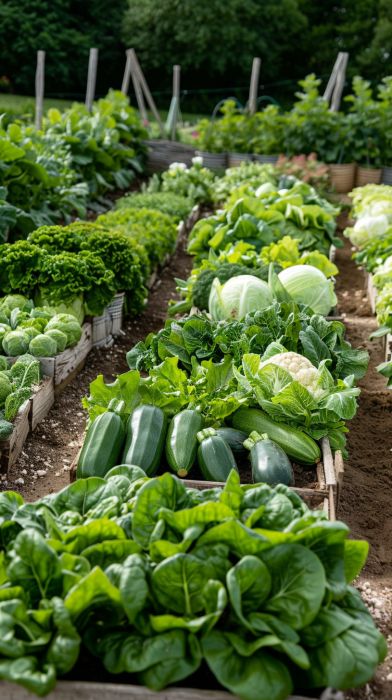
For beginners eager to start a backyard garden, a raised bed is often the ideal solution. It takes the guesswork out of preparing your existing soil and provides a clean slate for a successful and manageable garden. A raised bed is simply a garden bed that is contained within a frame, sitting above ground level.
Here’s a step-by-step guide on how to create a food garden at home
Step 1: Plan and Choose Your Location
The first and most important step is to plan your raised bed.
- Sunlight is Key: Like any garden, your raised bed needs a spot that receives at least 6-8 hours of direct sunlight per day. Observe your yard throughout the day to find the sunniest location.
- Size and Accessibility: A standard size like 4×8 feet is perfect for a beginner. The most important dimension is the width—keep it no wider than 4 feet. This allows you to comfortably reach the center from either side without having to step on the soil, which can compact it.
Step 2: Build or Buy Your Raised Bed Frame
Once you have your spot and dimensions, you need a frame.
- Materials: You can buy a pre-made raised bed kit or build one yourself. For a DIY project, untreated wood like cedar or pine is a great choice. They are rot-resistant and safe for growing food. Avoid chemically treated lumber as the chemicals can leach into the soil.
- Construction: To build a simple 4×8-foot frame, you’ll need two 8-foot boards and two 4-foot boards. Screw the boards together at the corners to form a rectangle. You can add corner brackets for extra stability.
Step 3: Fill Your Raised Bed with the Right Soil
This is the most crucial step and the biggest advantage of a raised bed. You don’t use your existing backyard soil.
- The Soil Mix: Instead of just filling your bed with topsoil, you need to create a specific blend that provides the perfect balance of nutrients, drainage, and aeration. A popular and effective “recipe” is the triple mix:
- 1/3 Topsoil: Provides the base and mineral content.
- 1/3 Compost: Adds rich organic matter and essential nutrients. This is what feeds your plants.
- 1/3 Vermiculite or Coconut Coir: Improves aeration and helps the soil retain moisture without becoming waterlogged.
- Lining the Bed: Before you fill the bed with your soil mix, you can lay down a layer of cardboard or newspaper on the ground at the bottom. This will help suppress weeds and grass from growing up into your garden bed.
Step 4: Plant Your Raised Bed
Now for the fun part: planting!
- Choose Easy Plants: For a successful first season, plant vegetables known for being easy to grow. Think leafy greens (lettuce, spinach), root vegetables (radishes, carrots), and prolific plants (green beans, zucchini).
- Intensive Planting: Raised beds are great for “intensive planting” or “square foot gardening.” This method involves planting vegetables closer together in a grid, allowing you to produce a huge harvest in a small space. For example, you can plant 16 radishes in a one-square-foot section.
Step 5: Watering and Maintenance
Raised beds drain more efficiently than in-ground gardens, which is great for root health but also means they can dry out faster.
- Consistent Watering: Check the soil moisture frequently. Water deeply and consistently, especially during warm weather. A soaker hose or drip irrigation system is a great way to provide a steady supply of water without wasting it.
- Mulch: Applying a layer of mulch, such as straw or wood chips, on top of the soil is a key step. It helps suppress weeds and, most importantly, keeps the soil moist, saving you time on watering.
Starting a raised bed garden is the perfect way to get into gardening. By controlling your soil and having a manageable space, you are setting yourself up for a bountiful harvest and a rewarding new hobby. As of early August, this is the perfect time to get a bed set up for a fall harvest or to get a head start on preparing for next spring.

